The April 2020 preview release for Model-driven apps has a new feature, which makes it possible to open a record in a dialog. This new feature is called Main form Dialog (MFD). Quoting Microsoft’s blog post about MDF, ” With this feature you can now open a related record entity on a parent or base form without requiring the user to navigate away, your users can stay in context and edit an existing record or create a new one.”
MFD is a developer feature, meaning it takes code to light it up. This blog post is will give you a high-level understanding of how MFD can be lit up so that you have an understanding of how it can help you in your scenarios. Additional code examples and use cases can be found on docs.microsoft.com.
Requirements and goals of the exercise
This blog post will demonstrate how MFD can be lit up for the Project entity in Project for the web (P4W) and D365 PSA. Let’s define the example’s requirements before we light up MFD:
- When an existing Project record is open and a new record is created from a custom button on the Project form’s ribbon, open the new record in a dialog.
- When a new Project record is being created and the form has not yet been saved, the custom buttons should not be visible on the ribbon.
Let’s visualize the requirements to make them easy to comprehend:
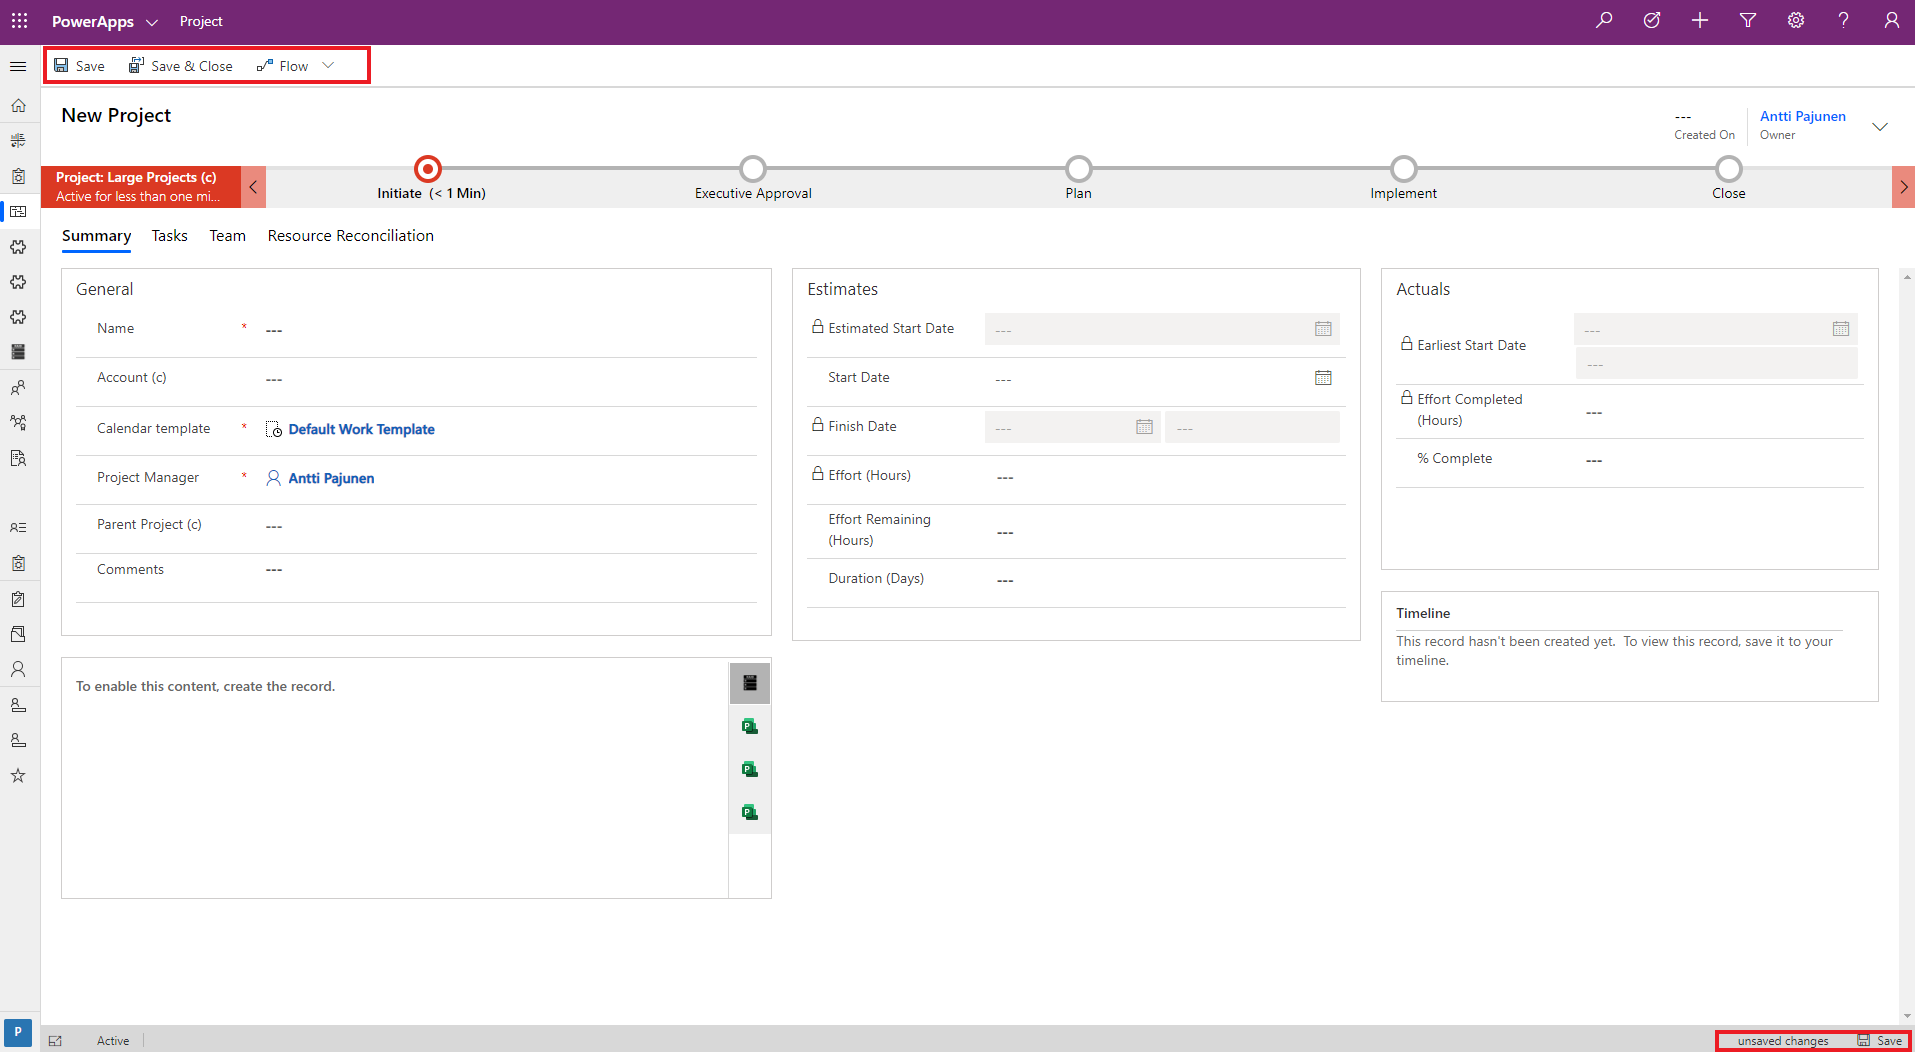
JavaScript for MFD dialogs
Let’s look at the JavaScrip that is used to open a new record dialog. In this example, a new dialog opens either in the center or on the right. Feel free to experiment on this feature by changing the values described on docs.microsoft.com.
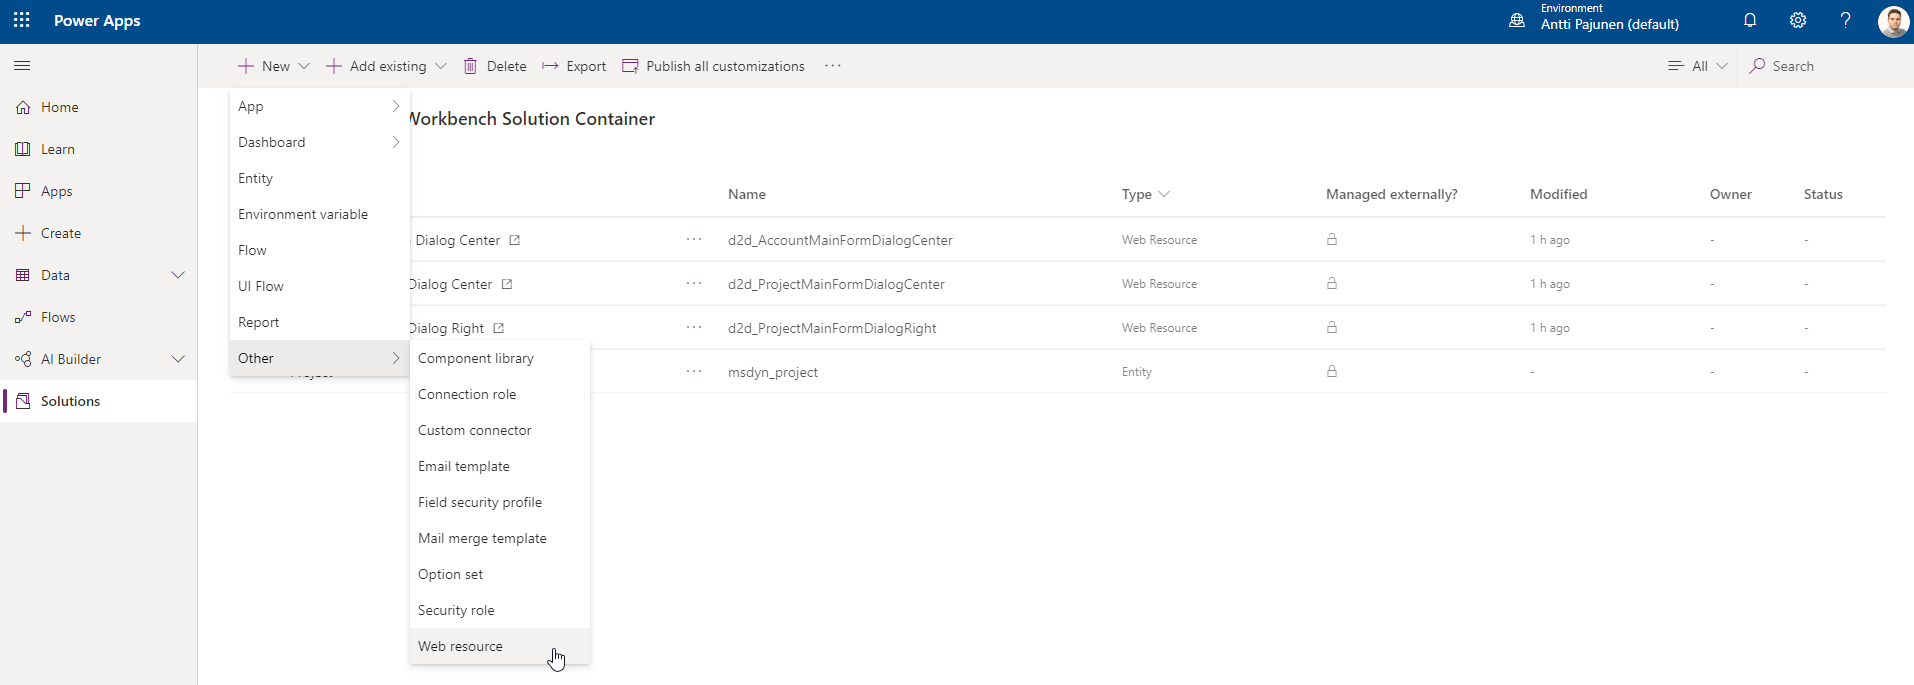
Create a new web resource per ribbon button and add the related JavaScript. The web resources are needed later on when the ribbon buttons are created. Ribbon Workbench will be used to create the buttons so add your web resources in a solution. If you are customizing P4W, remember the lack of ALM capabilities when it comes to working in the default environment. P4W customizations are, on the date of this blog post, essentially done “straight to production” as there is no named organization support in P4W. Consider using a trial tenant as your P4W development environment to achieve partial ALM for your customizations.
The JavaScrip to open a dialog in the center is as follows:
function d2d_ProjectMfdCenter () {

Xrm.Navigation.navigateTo({pageType:"entityrecord", entityName:"msdyn_project", formType:2}, {target: 2, position: 1, width: {value: 50, unit:"%"}});
}
The JavaScrip to open a dialog on the right is as follows:
function d2d_ProjectMfdRight () {

Xrm.Navigation.navigateTo({pageType:"entityrecord", entityName:"msdyn_project", formType:2}, {target: 2, position: 2, width: {value: 500, unit:"px"}});
}
Create custom ribbon buttons with Ribbon Workbench
Before Ribbon Workbench is fired up, remember to add the entity related to your custom ribbon buttons to your solution. In this example, we’re customizing the Project entity. The Internet is full of guides for Ribbon Workbench so I’m assuming you know at least the very basics of it. Create the buttons you need and place them on the Project form’s ribbon. Where you place your buttons is entirely up to you. Let’s get started with the nitty-gritty for the buttons.
Display Rules
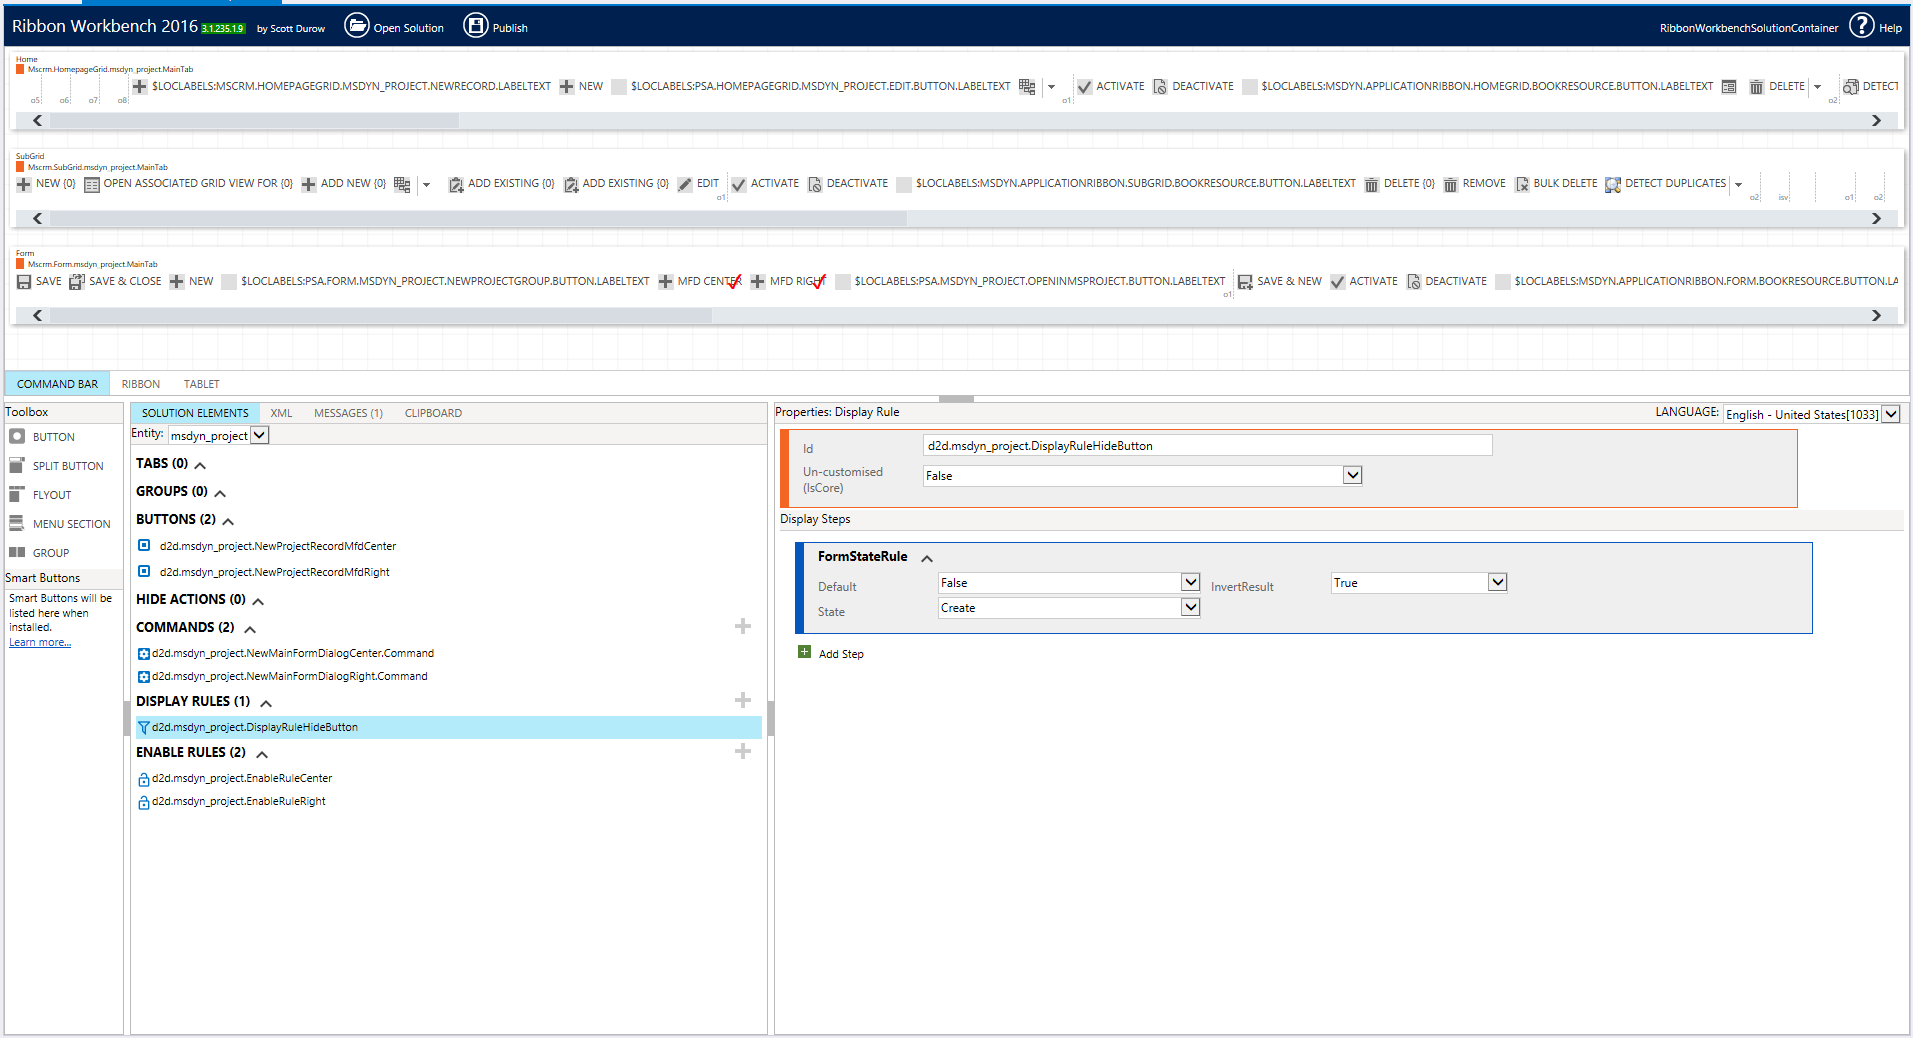
The first thing I’ve done is I’ve created a FormStateRule type of display rule for both buttons. There’s a really good article on display rules by Magnetism so if you want to learn more, check out this blog post. The catch with this rule is that our buttons are disabled when the Project form is in a “create” state. Create essentially means a new, unsaved record.
Enable Rules
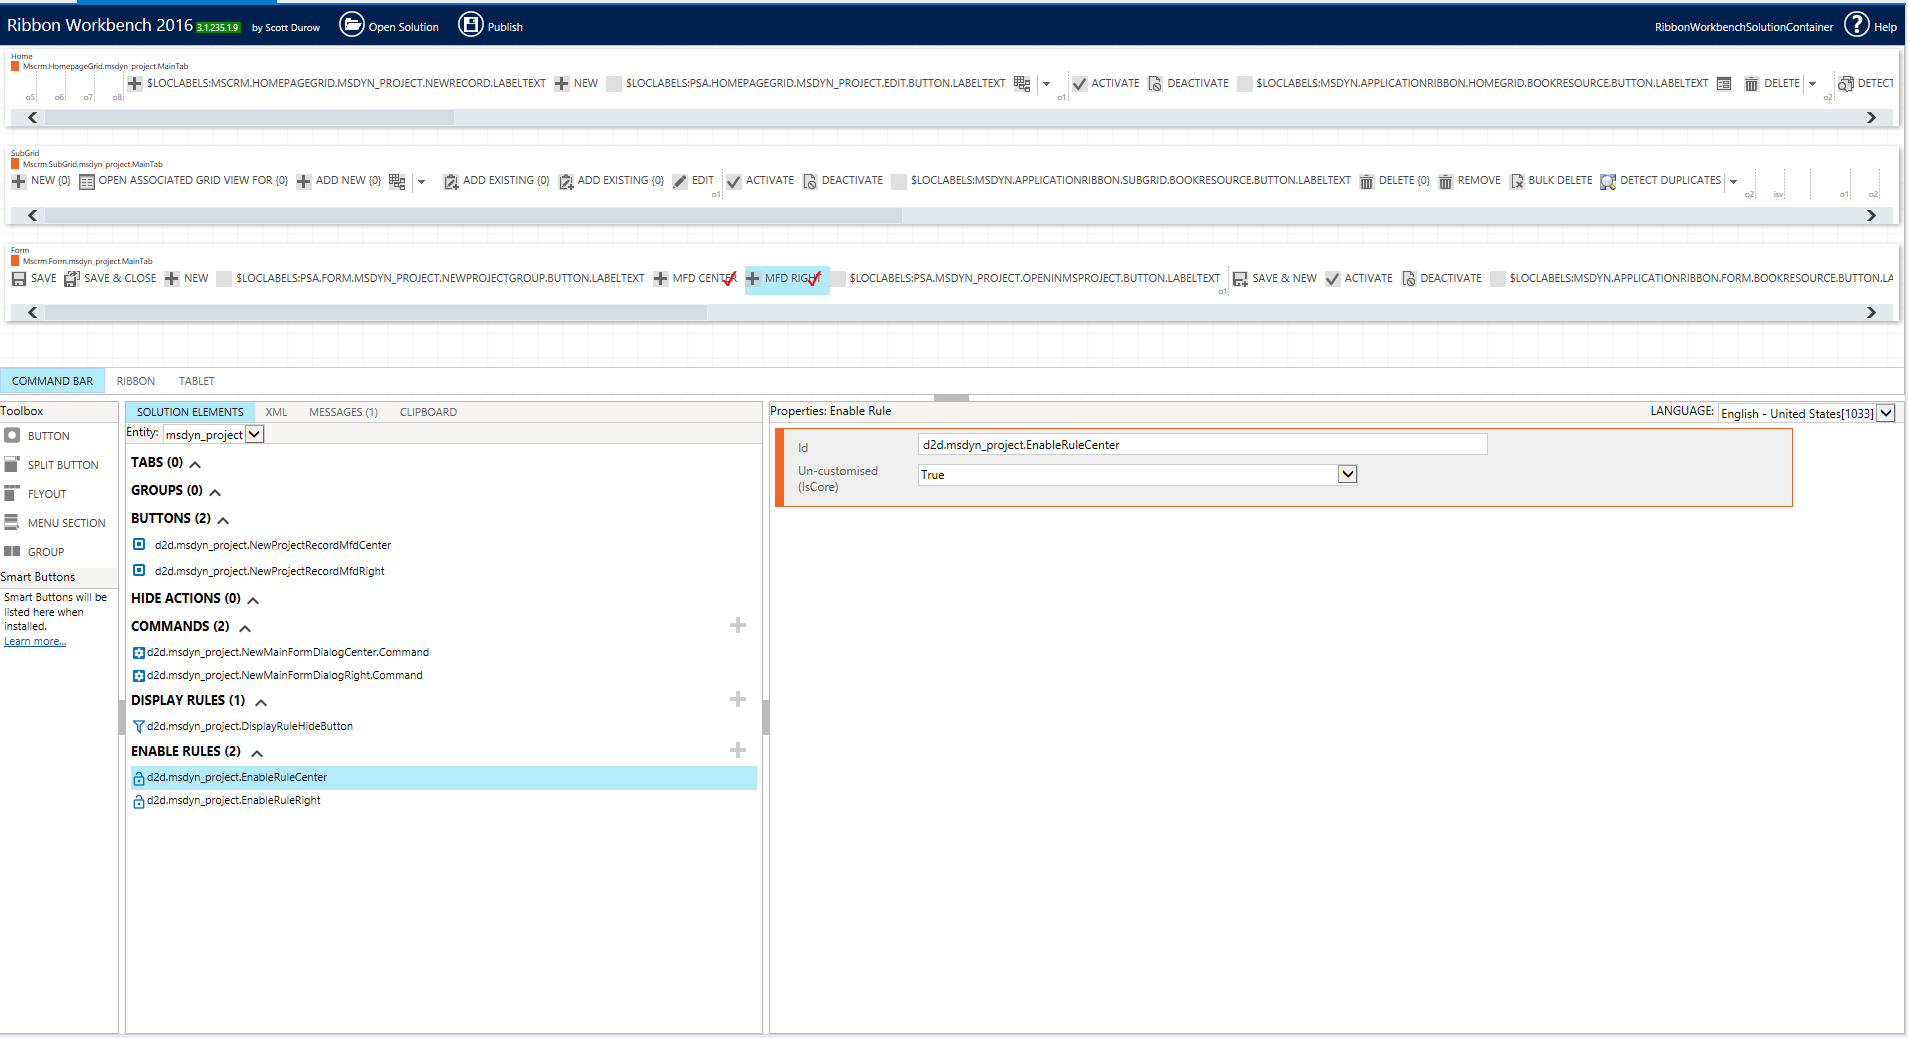
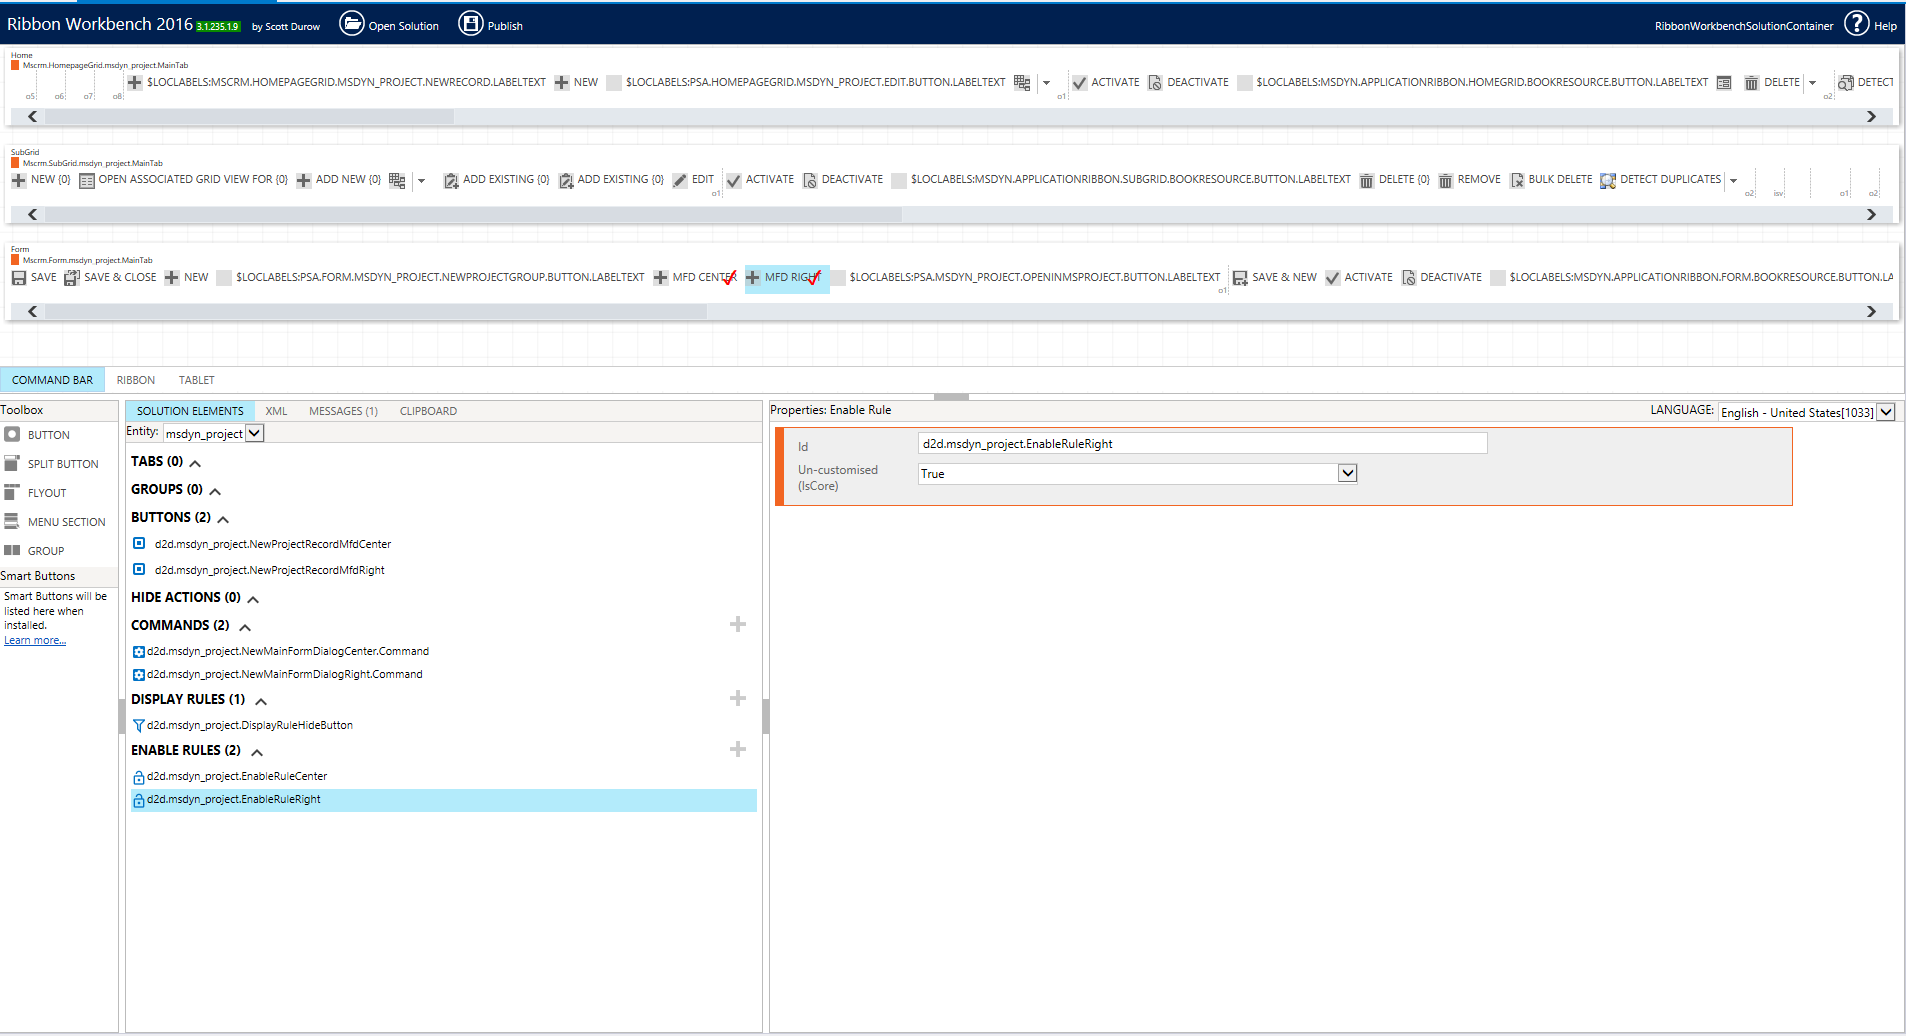
The enable rule for both buttons is very straightforward. I’ve set Un-customised (IsCore) to true for both buttons.
Commands
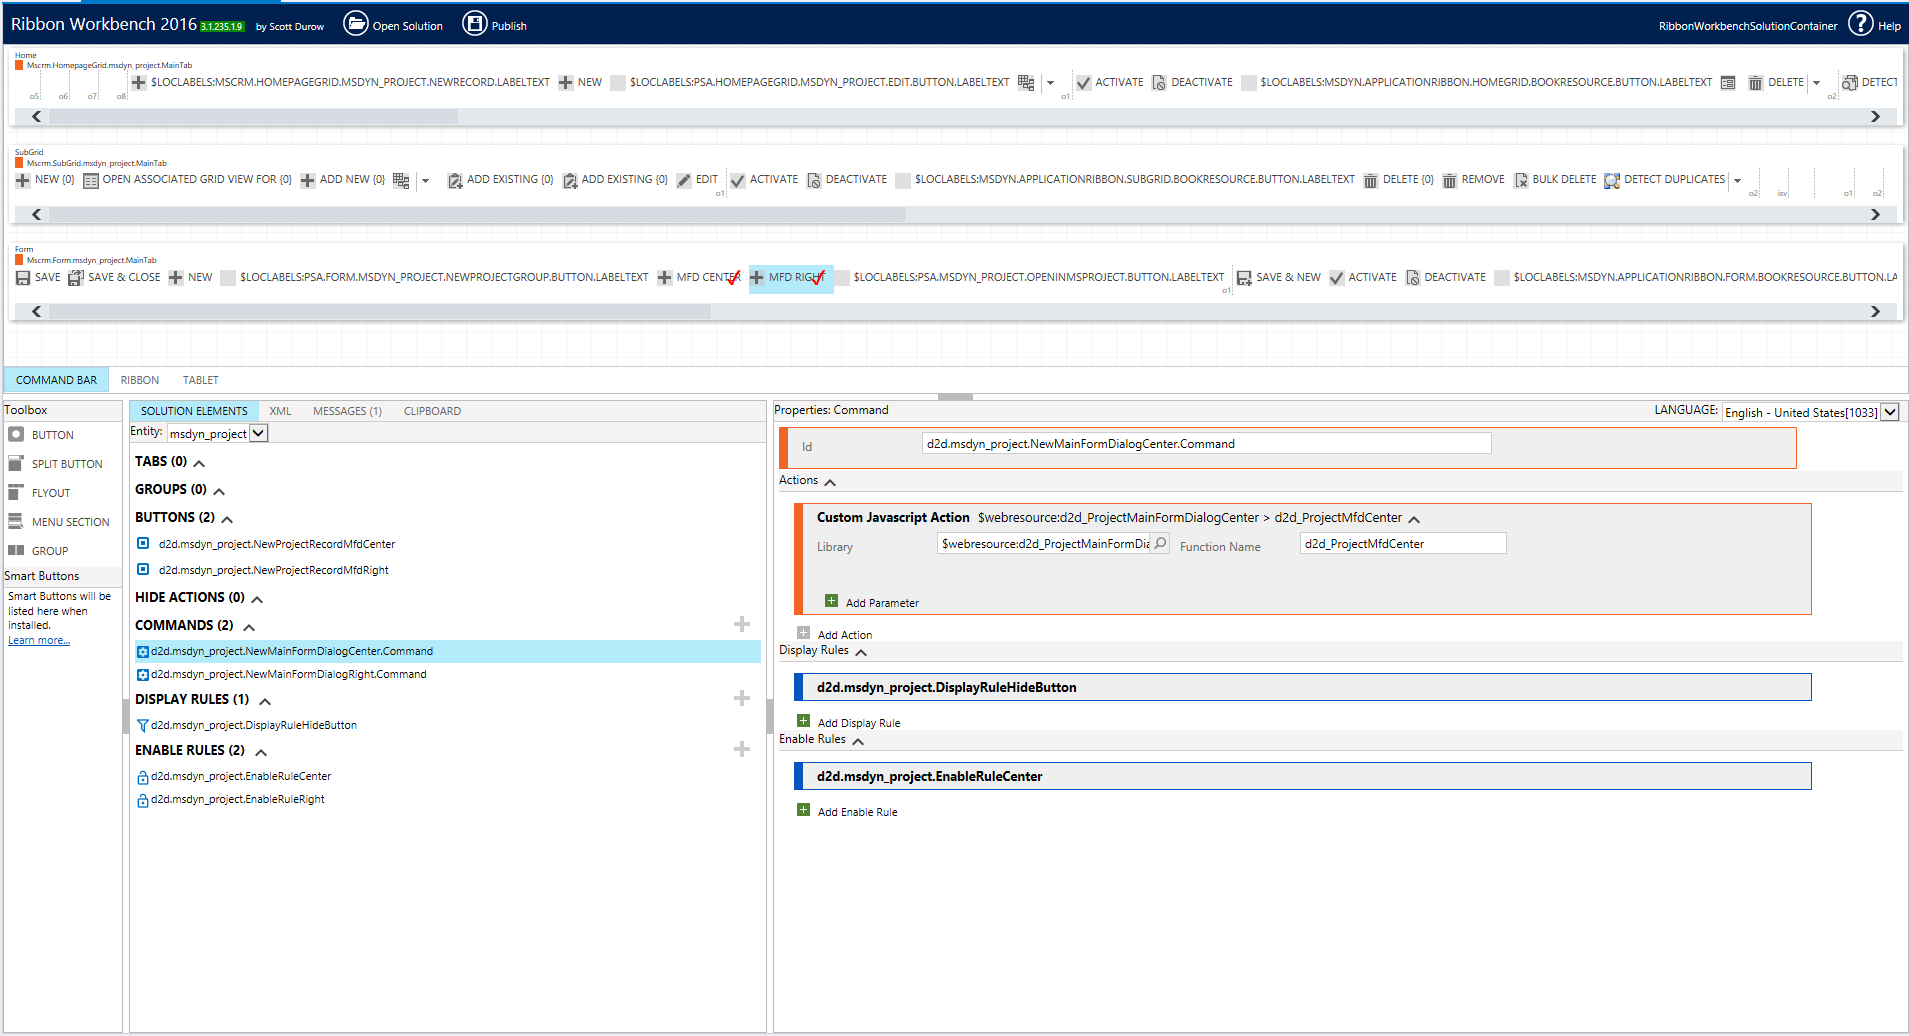
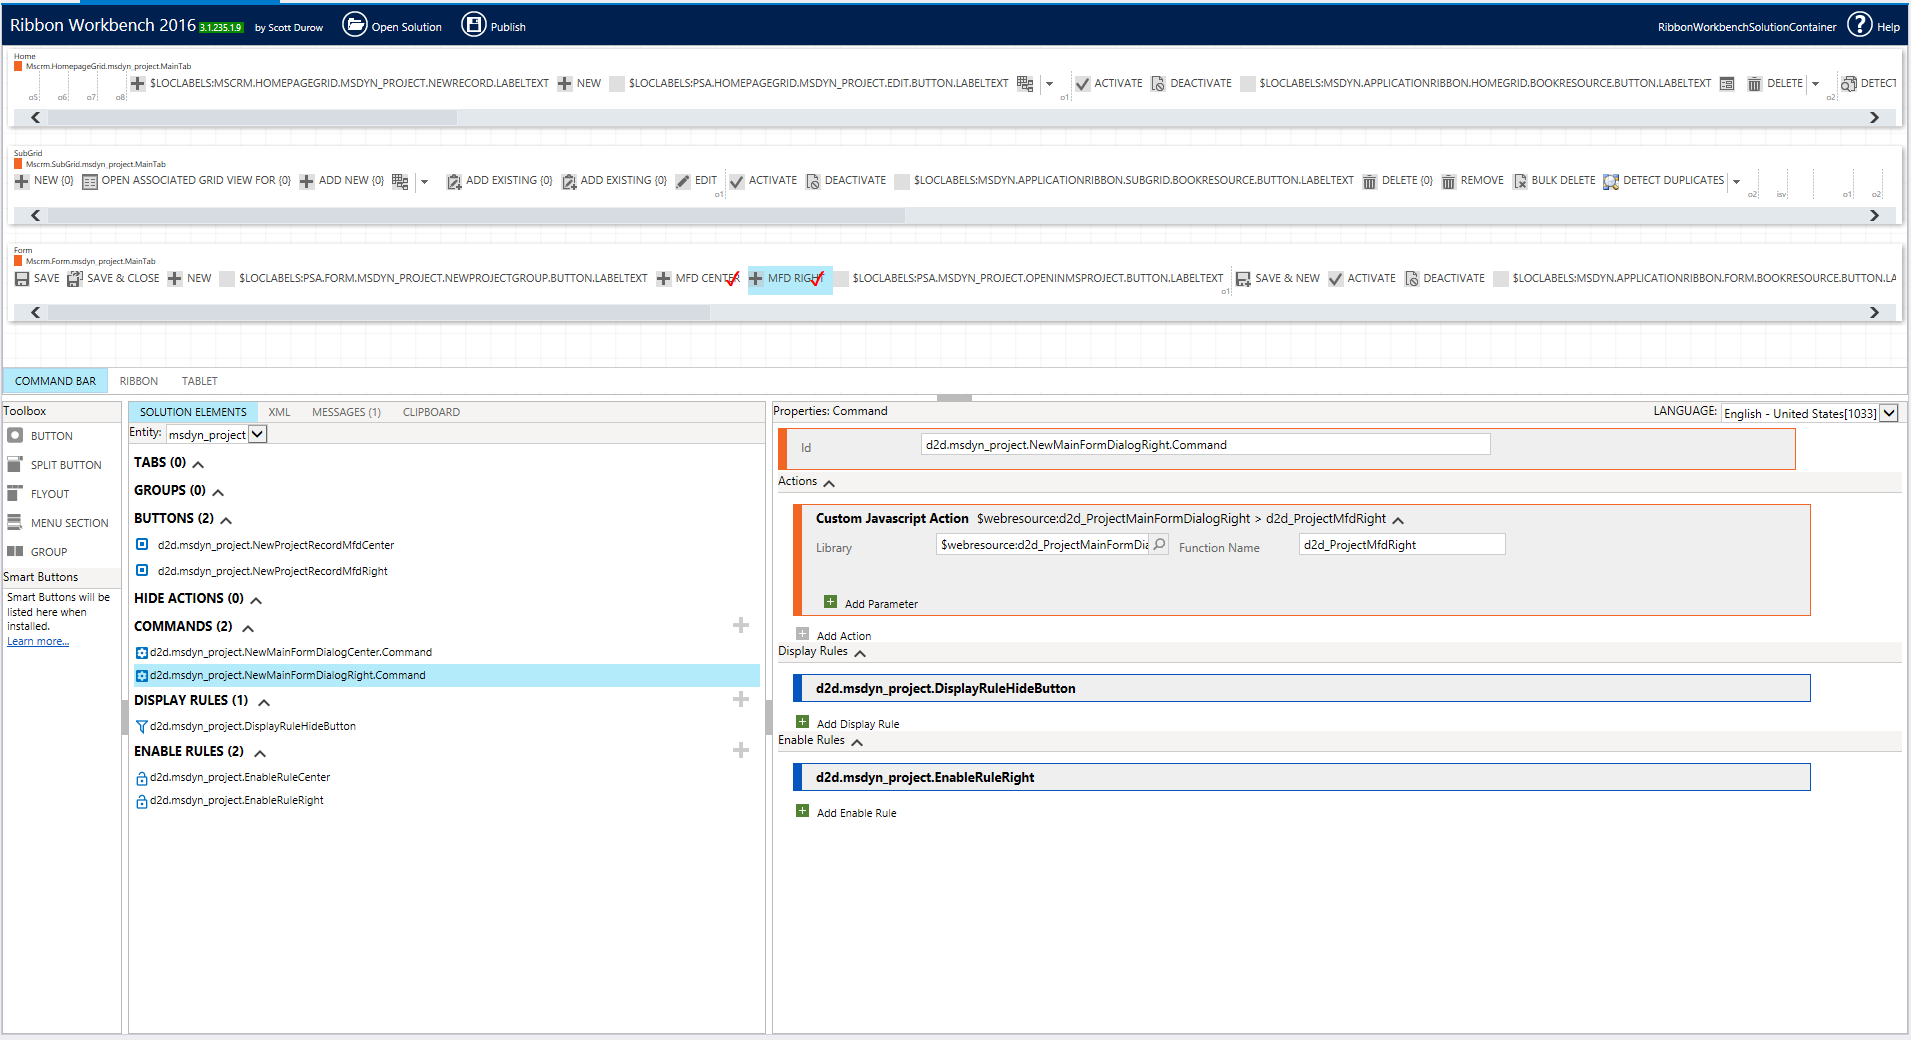
Here comes the part where we tie the JavaScripts we created to the buttons by creating an action and choosing the related web resource. Remember the function you’ve defined in your JavaScript. Add the display and enable rules that we created in the previous steps.
Buttons
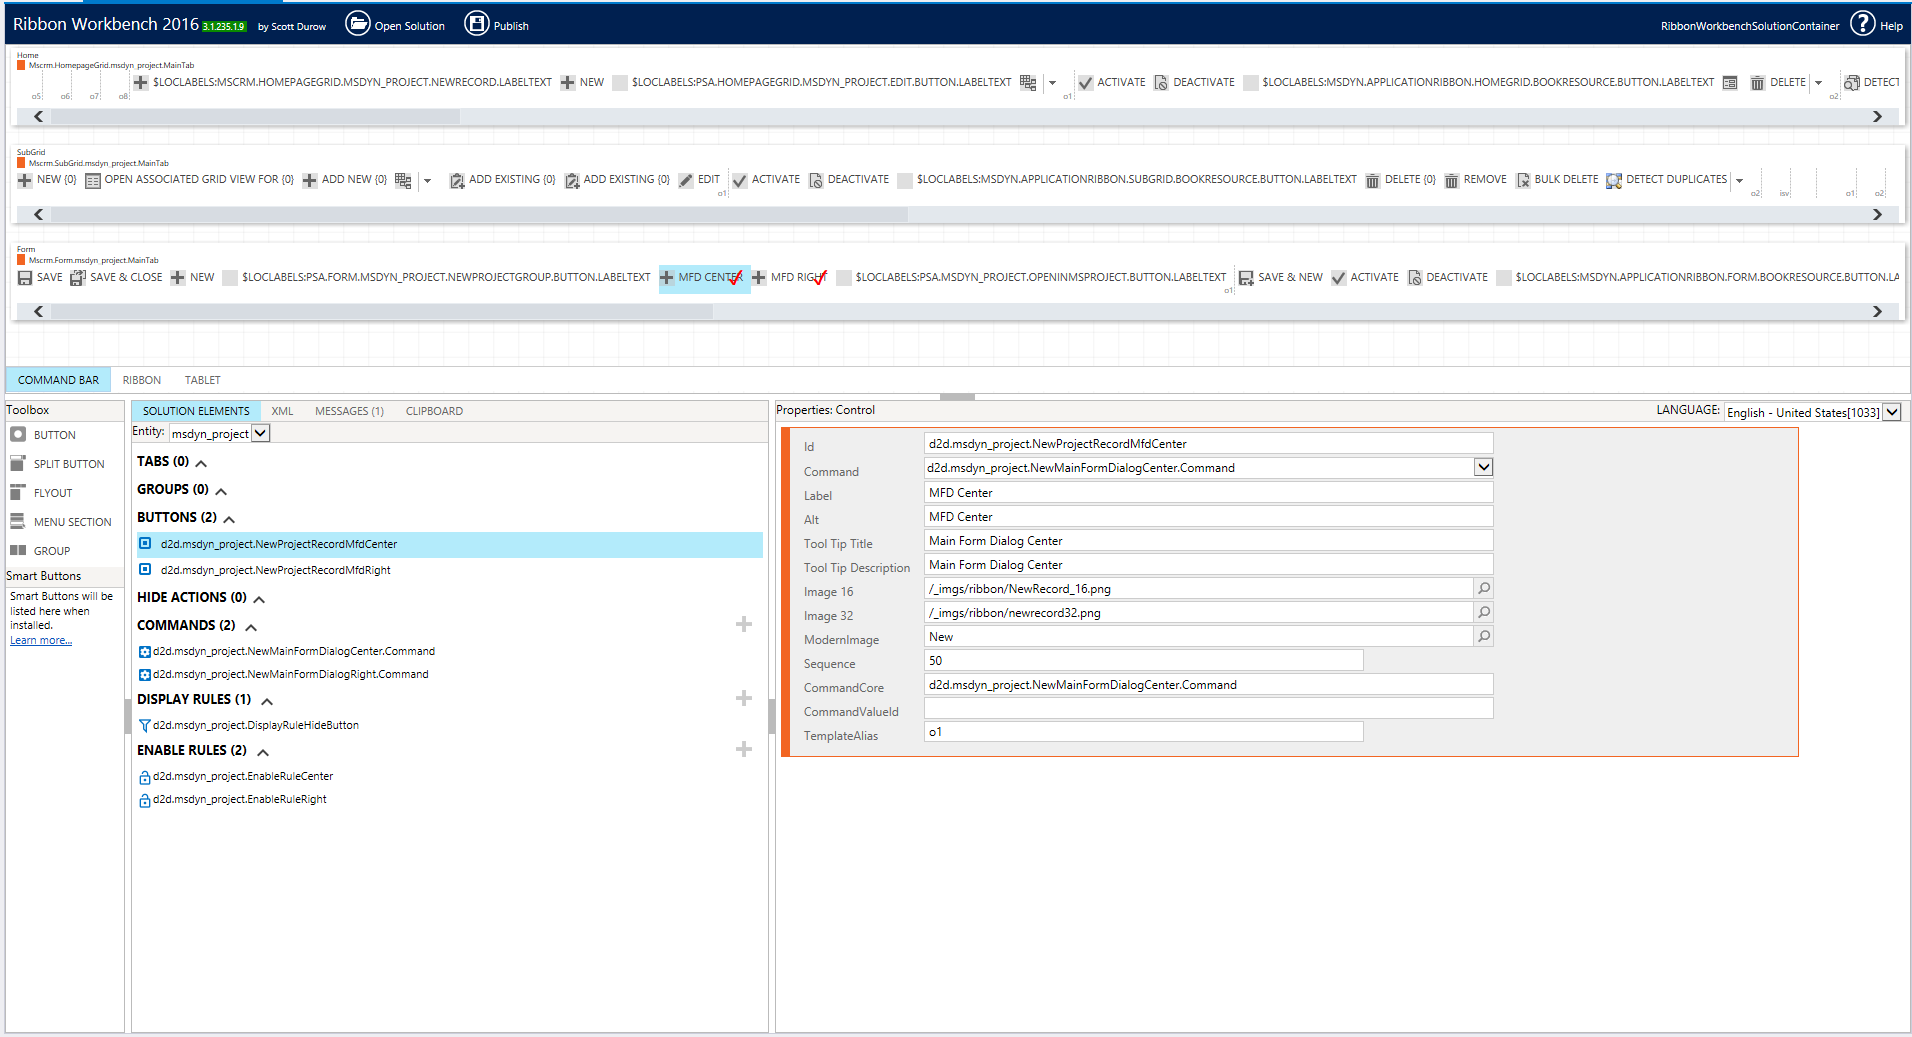
The last step is to add some details for our buttons. I’ve copied the OOTB “New” button, which is used to create new records. Remember to choose the command created in the previous step.
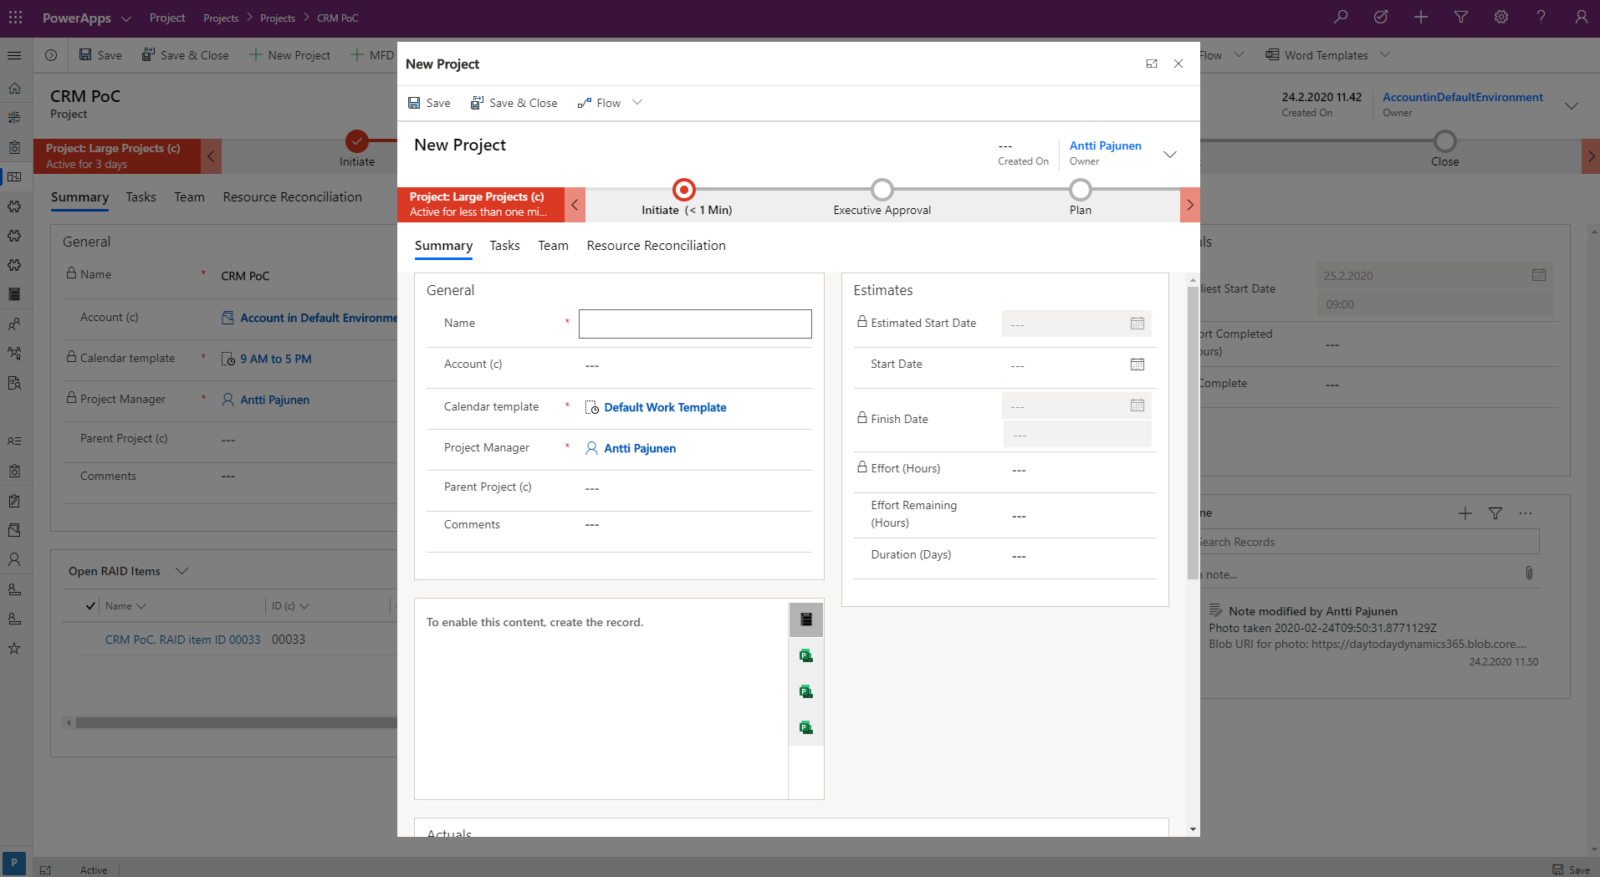
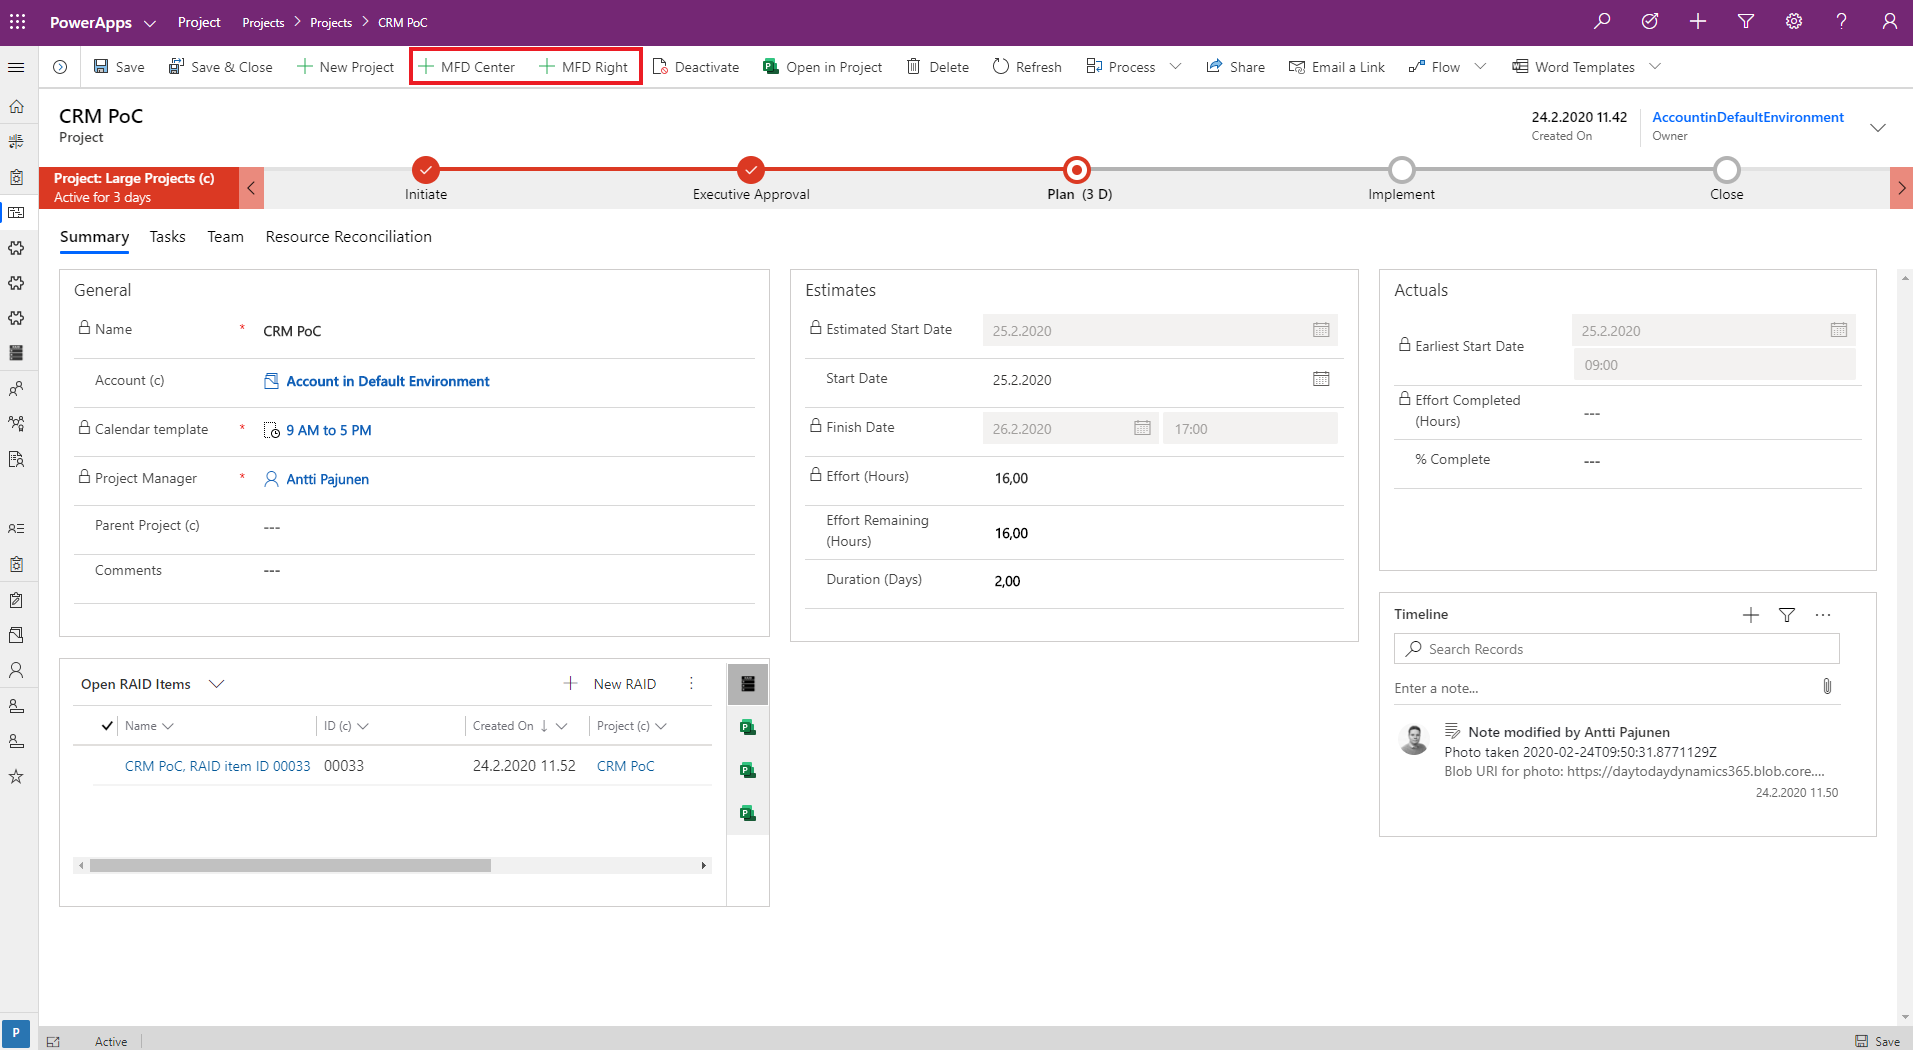
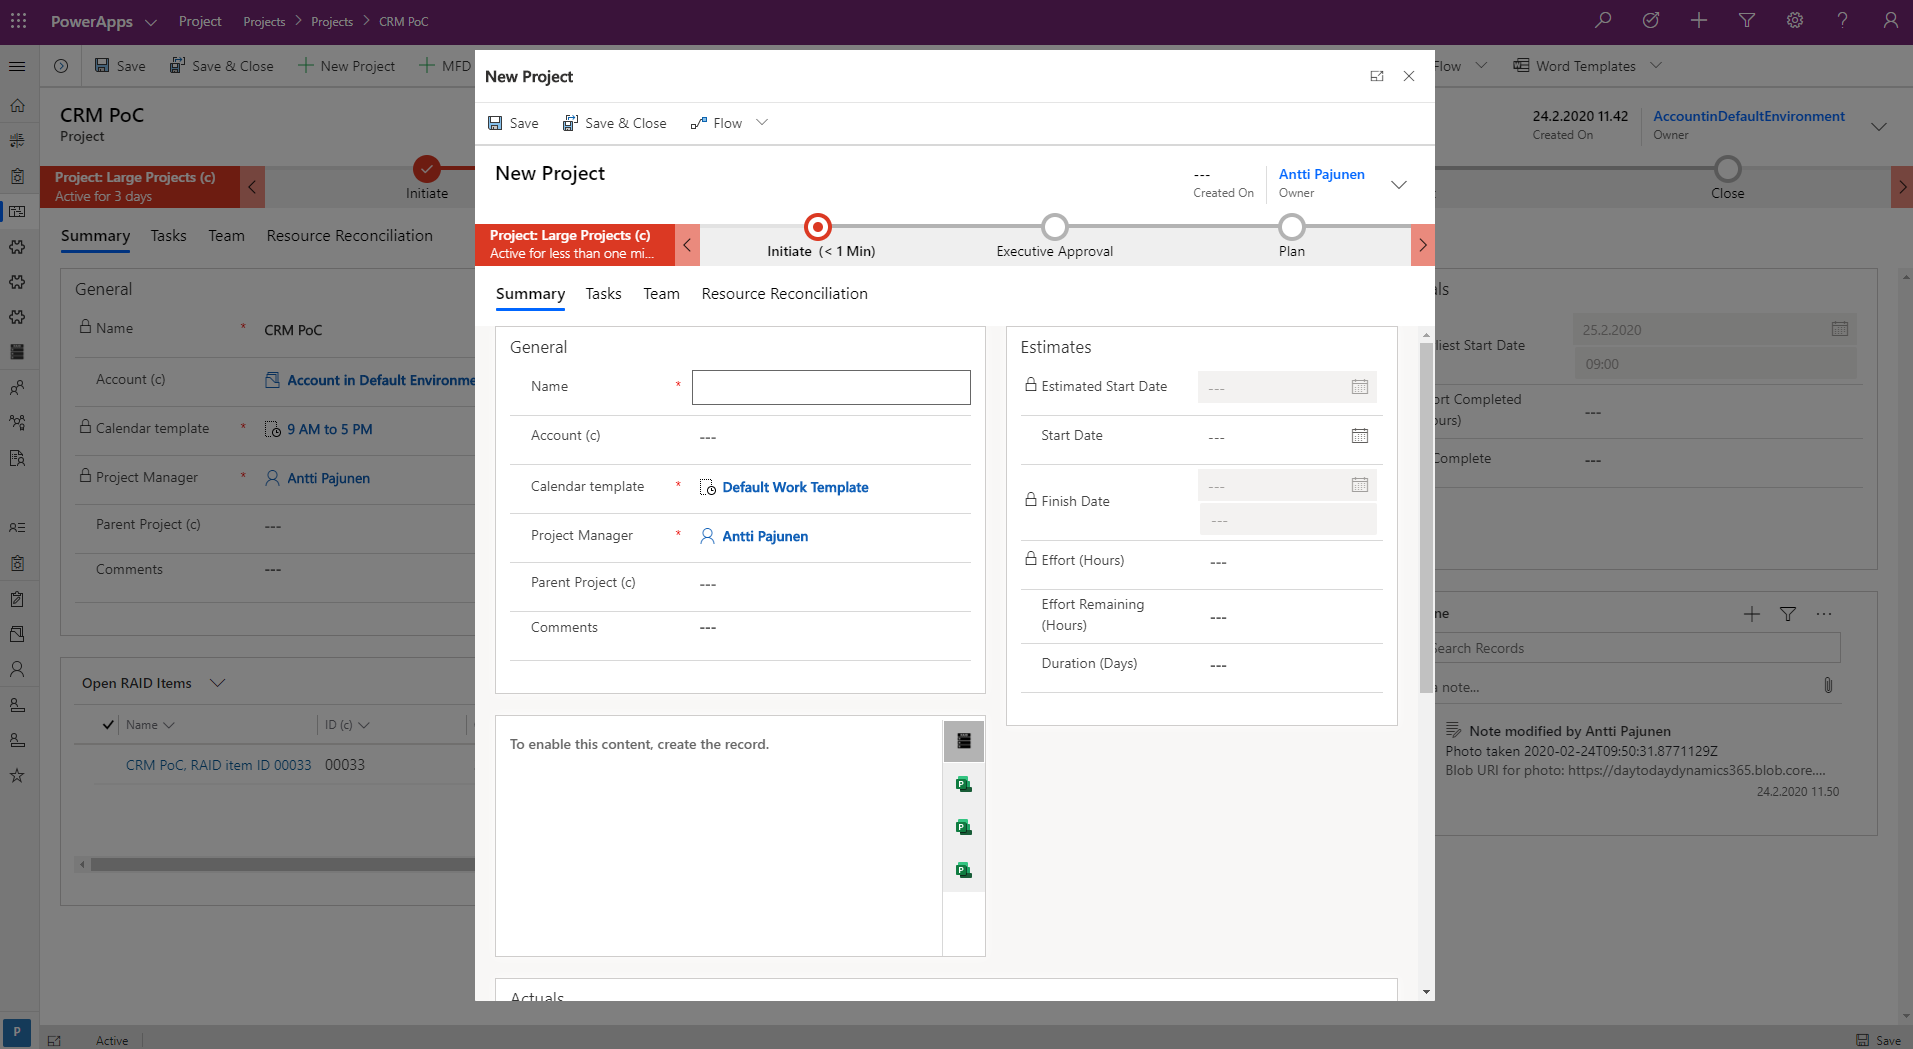
With all the steps complete, it’s time to publish and test the buttons. The results should be similar to what is displayed on images 1-3. If you’re comfortable with JavaScript, the next step could be to create something more complicated. For example opening an Account related to a Project.

2 thoughts on “Main Form Dialog in Project for the web and D365 PSA”
Comments are closed.